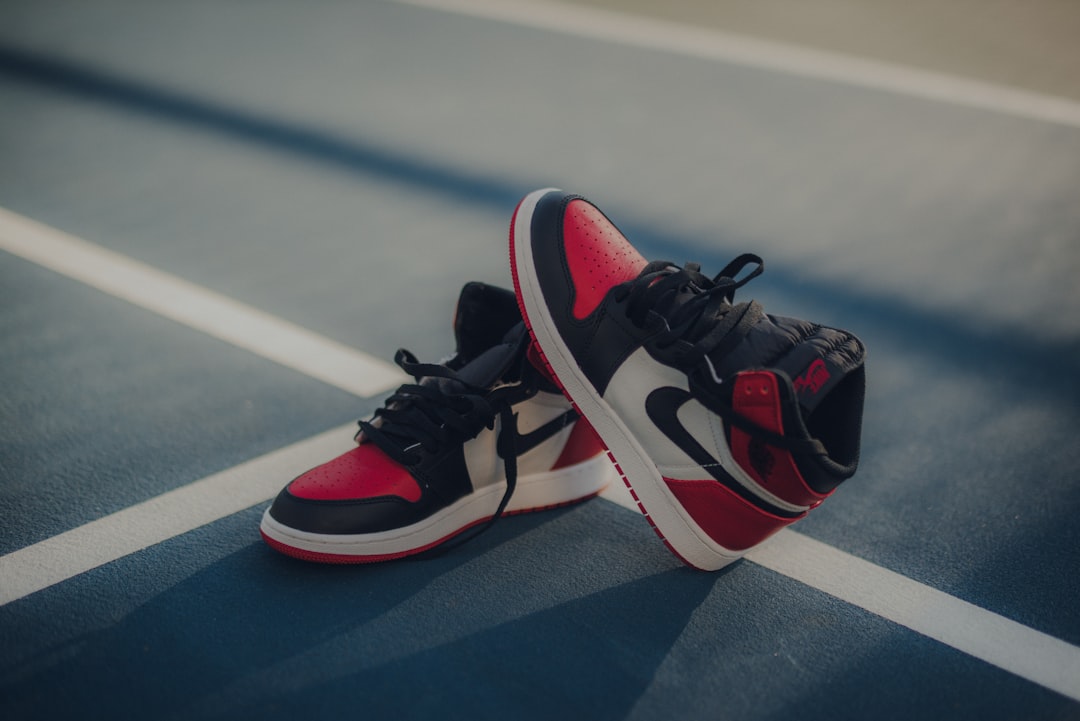
The right shoe size is more than a number. This practical shoe sizing guide shows you how to measure your feet at home, compare length and width charts, assess toe-box and heel fit, and make a more confident choice when shopping online.
Overview
Shoe sizes are useful starting points, but they are not universal measurements. The same labeled size can feel different from one brand, style, or material to another. A running shoe, leather boot, slip-on, and pointed casual shoe may all require a different approach to fit.
A reliable fit check has four parts: foot length, foot width, overall shape, and the way the shoe holds your foot while you move. Measure both feet, use the larger set of measurements when comparing a size chart, and match the shoe to its intended use. Feet can also change slightly over time, so an old size label should not replace a current measurement.
Comfort should not depend on forcing a shoe to stretch or hoping an uncomfortable pressure point will disappear. Some materials soften with wear, but a shoe that is too short, too narrow, or unstable at the heel is unlikely to become a good fit. If you regularly experience pain, numbness, or persistent pressure, consider professional advice rather than treating the problem as a sizing issue alone.
Checklist by scenario
Before measuring your feet
- Gather a sheet of paper larger than your foot, a pencil, a ruler or tape measure, and the socks you expect to wear with the shoes.
- Measure later in the day if possible, when your feet may be closer to their everyday wearing size.
- Stand while measuring. Sitting can understate the length or width your foot needs when bearing weight.
- Measure on a hard, level surface rather than carpet.
How to measure your feet at home
- Place the paper on the floor with one short edge against a wall.
- Stand with your heel lightly touching the wall and your weight distributed normally.
- Trace around the foot, or ask another person to mark the end of the longest toe and the widest points of the forefoot. Keep the pencil upright rather than angled inward.
- Measure from the paper edge at the heel to the longest toe. Then measure the widest part of the foot from side to side.
- Repeat the process for the other foot. Record both length and width, including the unit of measurement.
Use this simple worksheet for future online shopping:
- Left foot: length ____ / width ____
- Right foot: length ____ / width ____
- Larger foot: left / right
- Usual socks: thin / medium / thick
- Primary use: walking / running / work / casual / formal / outdoor
- Fit preference: close / standard / extra room
When shopping online
- Find the product's own size chart rather than relying only on a general brand chart or your usual number.
- Check whether the chart lists foot length, shoe length, or an insole measurement. These are not always interchangeable.
- Compare your measurements with the chart in the unit it uses. Convert units carefully if necessary.
- Look for width options such as narrow, standard, wide, or extra-wide. A larger length is not a reliable substitute for additional width.
- Read fit notes for the specific model. Descriptions such as "runs short," "roomy in the toe," or "low-volume upper" can help, but treat them as guidance rather than a universal rule.
- Review the seller's exchange and return details before ordering, especially when trying an unfamiliar brand or silhouette.
Choosing shoes for wide feet
Start with width, not just length. A wide foot may need more room across the ball of the foot, a deeper toe box, or both. Look for a shape that follows the natural outline of your foot without squeezing the little toes. Adjustable laces, straps, and gussets can offer more control than a rigid slip-on.
Do not assume that sizing up solves a width problem. A longer shoe can leave too much space in front while the sides still press against the foot. If available, compare the brand's width options and search for reviews that describe the forefoot, instep, and heel separately.
Choosing boots
For boots, check the heel, instep, shaft, and toe box. A small amount of initial heel movement can occur in some structured boots, but your heel should not lift excessively with every step. Your toes should remain free to move, and the instep should not feel compressed when the boot is fully fastened.
Wear the socks you plan to use and test the boots on a surface that will not damage the sole. For a more detailed seasonal approach, pair this check with a Chelsea boots outfit guide or a broader seasonal footwear plan.
Choosing sneakers and everyday shoes
For walking or daily wear, assess the fit while taking normal steps. The shoe should flex where your foot flexes, hold the heel without pinching, and leave enough room for your toes to spread naturally. If you are comparing options for commuting or travel, see the walking sneaker comparison for travel after completing your measurements.
What to double-check
Toe-box room
Your longest toe should not press against the front when you stand or walk. Toe length varies, so do not judge the fit by the space beyond the big toe alone. Check whether all toes can lie comfortably without curling, rubbing, or being pushed together.
Heel security
Secure the laces or fasteners as you would during normal wear, then walk, stop, and use stairs if possible. A small amount of movement may be acceptable in some casual shoes, but repeated slipping can create friction and reduce stability. Tightening the shoe until the top of the foot feels numb is not a good correction.
Width and volume
Width refers mainly to side-to-side room; volume also includes space over the top of the foot. Red marks, pressure across the instep, or a tongue that will not sit comfortably can indicate a volume problem even when the length is correct.
Intended socks and insoles
Try shoes with the socks and removable insoles you expect to use. A thick sock or replacement insole can change both volume and heel hold. If you need extra support, confirm that the shoe has enough internal space rather than simply choosing a longer size.
Material and construction
Flexible textile uppers may accommodate minor shape differences more easily than stiff leather or structured synthetic materials. However, do not count on substantial stretching to correct a poor fit. For care after you find the right pair, consult this guide to cleaning and protecting white sneakers or review the basics of leather boot care.
Common mistakes
- Measuring only one foot: Use the larger measurement as your starting point and adjust with fit features when needed.
- Measuring while seated: Standing gives a more practical picture of how the foot occupies the shoe.
- Assuming every brand fits the same: Shape, sizing systems, materials, and construction vary. Always check the model-specific chart.
- Using length to solve width: A longer shoe may create heel slip without relieving forefoot pressure.
- Ignoring the intended sock: Measure and try on the shoes with the layers you will actually wear.
- Judging fit only while still: Walk, bend, and climb a few steps. Movement reveals pressure and slipping that standing still can hide.
- Keeping a painful pair because of the label: A familiar size is not more important than a comfortable, stable fit.
- Forgetting the return plan: Keep packaging and follow the seller's instructions until you have tested the shoes indoors.
When to revisit
Return to this shoe sizing guide before each major online purchase, especially when changing brands, shoe categories, or sock thickness. Re-measure before seasonal shopping if your preferred footwear changes from lightweight sneakers to insulated boots, or if you plan to add an insole.
It is also worth revisiting your measurements after a noticeable change in comfort, activity, or foot shape. A shoe that worked for short errands may not suit long walks or standing all day. For those use cases, compare your fit notes with guides to shoes for standing all day and travel shoes for walking and airports.
Before placing your next order, complete this final action checklist:
- Measure both feet while standing in the intended socks.
- Record length, width, and the larger foot.
- Open the exact product's size and width chart.
- Confirm toe-box, heel, and instep requirements for the style.
- Check the return process and test the shoes indoors before wearing them outside.
Save your measurements, but do not treat them as permanent. Use them as a repeatable starting point, then verify how each specific shoe is shaped and how it feels in motion.