Start Here: Stop guessing and start restoring — at home, quickly and safely
If you dread scuffed midsoles, tired whites, or sweaty sneakers that never smell fresh, this guide is for you. Online shopping and designer drops mean more investment in every pair; returns and restorations are costly. In 2026, the smart-tooled home workshop — led by Roborock-style wet-dry vacs like the Roborock F25 — makes professional-level sneaker cleaning accessible. Read on for a step-by-step routine that refreshes everyday and designer sneakers using a wet-dry vacuum, gentle cleaners, and a few pro tips to protect resale value.
Why the wet-dry vacuum matters in modern shoe care (2026 update)
Late 2025 and early 2026 saw an influx of compact wet-dry vacs and multifunction cleaners designed for home use. The Roborock F25 and similar models combine strong suction, wet extraction, and dedicated attachments that handle both water and foam cleanups — translating to a faster, deeper extraction than towels or traditional handheld vacs. That matters because stain removal and sneaker restoration succeed only when you remove dirty solution and moisture quickly; trapped moisture leads to odors, glue failure, and fabric damage.
Roborock’s F25 and peers were widely reported in early 2026 for turning wet extraction into a fast at-home tool, especially for textile and rubber cleaning.
Quick overview: The routine at a glance
- Prep: Remove laces/insoles, dry-brush loose dirt.
- Pre-treat stains: spot-treat with gentle, targeted cleaners.
- Clean: Use a low-foaming solution, soft brush, and wet-dry vac extraction.
- Rinse & extract: Multiple passes with clean water and the wet-dry vacuum.
- Dry & protect: Air-dry correctly, then apply protective spray and condition leather if needed.
What you'll need (tools & products)
- Roborock F25-style wet-dry vacuum or similar wet-dry vac with small brush and crevice tools.
- Low-foaming sneaker cleaner (pH-neutral or dedicated shoe solution like Jason Markk, Reshoevn8r).
- Soft brushes (nylon, soft horsehair for leather), toothbrush for midsoles.
- Microfiber cloths and sponge pads.
- Mesh laundry bag (for laces only when washing in machine) and shoe trees or rolled paper for shaping.
- Protective sprays: fluorine-free DWR or modern nanoparticle hydrophobic sprays (2025-26 eco-safe formulations).
- Suede/nubuck eraser and brush for delicate materials.
- Optional: 3% hydrogen peroxide and baking soda for stubborn midsole yellowing (use cautiously), magic eraser, and odor-neutralizing powder.
Step 1 — Prep like a pro (10 minutes)
Start with a clean workspace and a plan. Remove laces and insoles so you can access every surface. For designer or delicate shoes, photograph the pair first — before/after photos help if you sell or insure them later.
- Dry vacuum: Use the dry suction on your wet-dry vac to remove loose dirt and grit from upper fabric and outsoles. This prevents grit from becoming muddy during wet cleaning.
- Protect hardware and logos: Cover metal zips or delicate patches with tape if you expect scrubbing nearby.
Step 2 — Targeted stain removal (5–20 minutes depending on stains)
Different stains need different chemistry. The goal is gentle, targeted action — harsh chemicals can ruin leather, colorways, or glued seams.
Stain-by-stain quick guide
- General dirt: pH-neutral sneaker cleaner mixed per label instructions. Apply with a soft brush.
- Oil/grease: Absorb with talc or cornstarch, let sit 10–20 minutes, then brush off and use a mild degreasing cleaner.
- Protein stains (blood, sweat): Cold water rinse and enzyme-based cleaner; avoid heat.
- Ink/scuff: Isopropyl alcohol on a cotton swab — test a hidden area first.
- Suede/nubuck stains: Use a dry suede eraser and restore nap with a suede brush; avoid water.
Step 3 — The wet extraction method with your wet-dry vac
This is the step that sets the wet-dry vac routine apart. Extraction rinses out dirty solution and leaves the shoe cleaner and drier faster.
How to mix cleaning solution (safe and effective)
Use a low-foaming, pH-balanced sneaker cleaner. High-foaming soaps clog tanks and filters. A common safe mix: 1–2 capfuls of sneaker cleaner in 1 liter of warm water. For delicate leather, use specialized leather cleaner undiluted or per instructions.
Extraction workflow
- Apply the cleaning solution with a soft brush or sponge to the upper and midsoles. Work in small sections.
- Agitate gently with the brush to lift dirt — do not oversaturate leather or glued seams.
- Switch the wet-dry vac to wet extraction mode. Use the small upholstery tool or round brush attachment supplied with the unit.
- Run the tool over the treated area, extracting the dirty solution into the machine’s tank. Repeat until the extracted water runs clear.
- For midsoles and outsoles, use a firmer brush and extract in the same way. For delicate uppers, use less solution and more passes.
Tip: Empty and rinse the vac tank between very dirty pairs to keep extraction effective. Low-foaming cleaners recommended by Roborock and other manufacturers reduce clogging and extend filter life.
Step 4 — Rinse and finish extraction (10–15 minutes)
Rinse by repeating the extraction with plain water — a few short passes are better than one long soak. The wet-dry vac will remove residual cleaner, leaving less residue that could attract dirt later.
- For leather: Lightly damp microfiber wipe, then immediately extract to avoid oversaturation.
- For textile and mesh: A couple of water-only passes with extraction will help avoid soap rings.
Step 5 — Drying the right way (overnight to 48 hours)
Proper drying prevents shape loss and mildew.
- Insert shoe trees or lightly stuffed paper to preserve shape.
- Air-dry in a ventilated room at room temperature. Avoid direct heat or sunlight for leather and colored materials (UV can fade color).
- If faster drying is needed, use a fan. Recent 2026 studies show low-speed forced air reduces drying time without stressing adhesives; high-heat devices remain risky.
Step 6 — Post-care: protection and scent control
After shoes are fully dry, reinsert insoles, relace, and apply protective products.
- Protective sprays: In 2026 the trend is toward fluorine-free, breathable hydrophobic sprays. These deliver water and stain repellency without the environmental concerns associated with legacy PFAS. Apply evenly; allow cure time per product instructions.
- Leather conditioning: Use a pH-neutral conditioner for smooth leather to prevent cracking and restore suppleness.
- Odor control: Use odor-neutralizing powders or replace insoles with anti-microbial options. Avoid over-scented sprays that mask rather than treat odors.
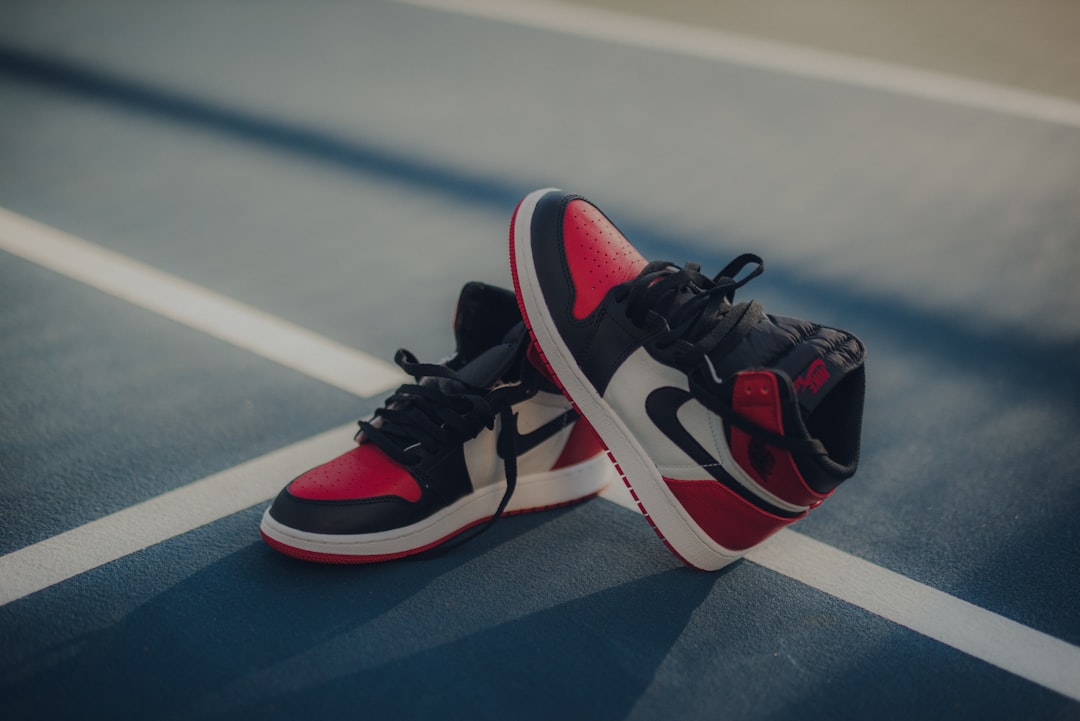
Special considerations: designer sneakers and delicate materials
Designer pairs often use mixed materials and custom dyes. Treat them like fragile investments.
- Always test a cleaner in an inconspicuous spot.
- For hand-painted, hand-distressed, or limited-edition finishes, consider a light extraction with minimal solution; in some cases, a professional restorer may be safer.
- Document results — many buyers and insurers appreciate restoration records.
Troubleshooting common problems
Yellowing midsoles
Midsoles oxidize over time. Mild peroxide + baking soda pastes have been effective professionally, but test first and avoid on colored soles. An alternative is to use commercial sole brighteners designed for safe application.
Stubborn dye transfer or deep stains
Layered stains may need repeated targeted spot treatments. If repeated at-home attempts fail, consult a restoration service to avoid overworking the material.
Lingering smell after cleaning
Odors usually come from residual moisture or biofilms. Ensure full extraction, dry thoroughly, and use an enzymatic odor neutralizer on insoles and footbeds.
Maintenance schedule: keep it simple
- Daily quick-clean: Wipe midsoles after every few wears; dry-brush uppers weekly.
- Monthly deep-clean: Full wet-dry vac extraction for frequently worn pairs.
- Seasonal: Apply fresh protective spray every 2–3 months if you live in wet climates.
Case study: Restoring a white textile runner and suede weekend sneaker (real-world example)
Example 1 — White textile runner (everyday pair): Before: yellowed midsoles, muddy uppers, light odor. Actions: dry-vac, enzyme pre-soak on sweat stains, low-foaming cleaner + wet extraction with F25-style vac, two water-only extraction passes, air-dry with inserts, spray with eco-friendly DWR. After: midsoles brighter, mesh textile restored, odor neutralized. Total time: 3–6 hours including drying.
Example 2 — Suede weekend sneaker (designer): Before: water spots and flattened nap. Actions: light dry brushing and eraser for spots — no wet extraction on suede; used steam sparingly from 1.5–2 feet to relax nap, brushed with suede brush, applied specialized suede protector. After: nap restored, water resistance improved. Total time: 2–4 hours.
Cost, value and sustainability (2026 perspective)
Investing in a wet-dry vac like the Roborock F25-style gives you a multipurpose home tool for under the cost of repeated professional cleanings. With resale marketplaces booming again in 2025–26, clean, well-cared-for sneakers retain more value. Using eco-safer cleaners and fluorine-free protective sprays aligns with 2026 consumer expectations and often complies with rental or building rules about ventilation and solvent use.
Final checklist before you start
- Read product labels — avoid bleach on leather and colorways.
- Test cleaners in an inconspicuous area.
- Keep the wet-dry vac filters clean and use low-foaming solutions.
- Do not submerge glued shoes; extract what you can.
Actionable takeaways — what to do today
- Buy or borrow a compact wet-dry vacuum with extraction attachments — the Roborock F25-style units are widely recommended in 2026 for home sneaker care.
- Stock a pH-neutral sneaker cleaner, a soft brush set, and a fluorine-free protective spray.
- Designate one afternoon this week to deep-clean your most-worn pair using these steps and compare before/after photos.
Closing thoughts — DIY shoe care is smarter in 2026
With the rise of multifunction wet-dry vacs and gentler, eco-aware cleaning products, sneaker restoration at home is safer and more effective than ever. Whether you're protecting a daily runner or refreshing a designer drop for resale, the combination of targeted stain treatment and wet extraction gives you professional-level results without the price tag. Start small, test, and build a consistent routine — your shoes (and wallet) will thank you.
Next step: Try it now
Ready to restore a pair this weekend? Gather your supplies, follow the checklist, and take before/after photos. If you want a recommended product list or a step-by-step printable checklist personalized to your sneaker material, click through to our care kits and printable guides — and join the community of readers who share restoration wins and resale tips.
Related Reading
- Plan a Cheap Trip to Disney’s New Lands Using Points: Sample Itineraries for Families
- Collectors’ Roadmap for BTS’ Comeback: Editions, Variants, and Authentication Tips
- High-Tech Tools from CES for the Home Butcher and Grillmaster
- The Pitt’s Rehab Plotline: Writing Addiction Recovery into Serial Drama Without the Clichés
- Email Copy Prompt Library: Templates to Avoid Generic AI Output